

Last updated October 30, 2026
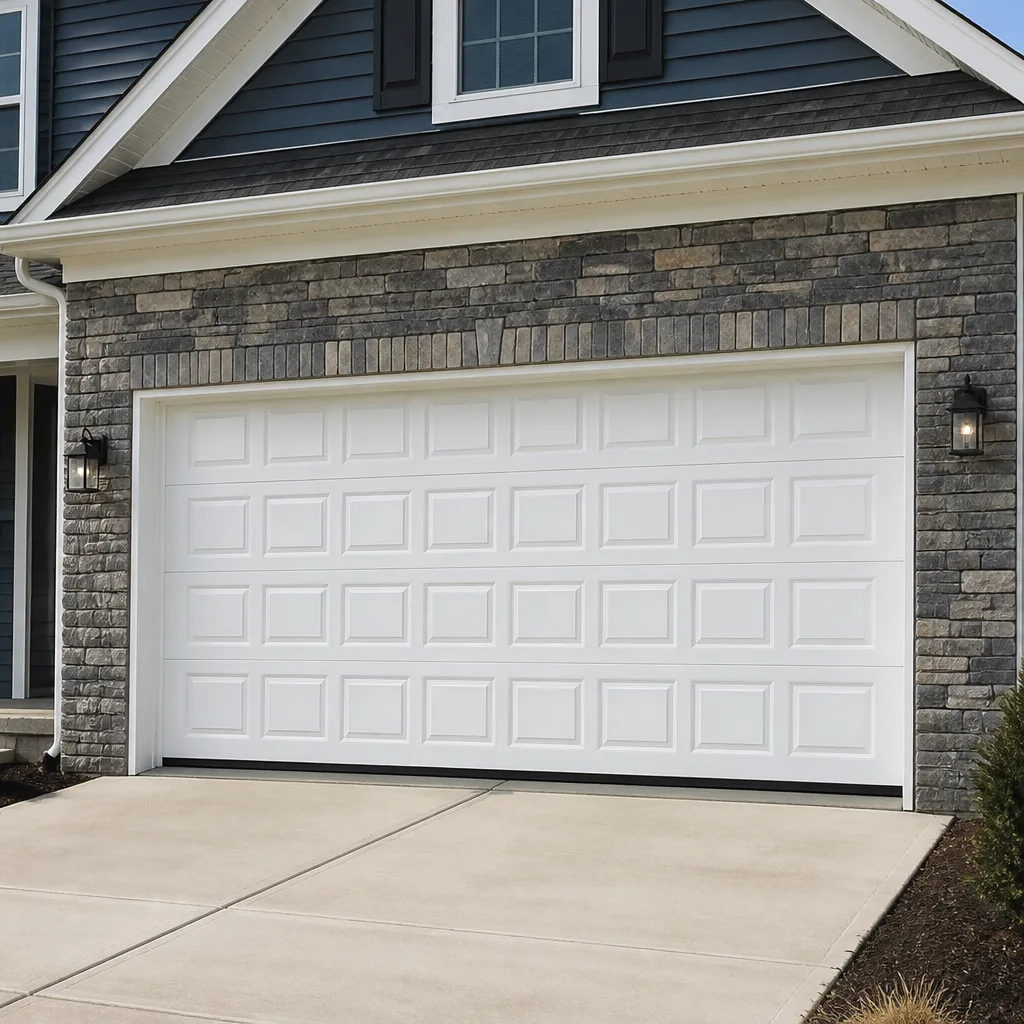 Raised-panel steel
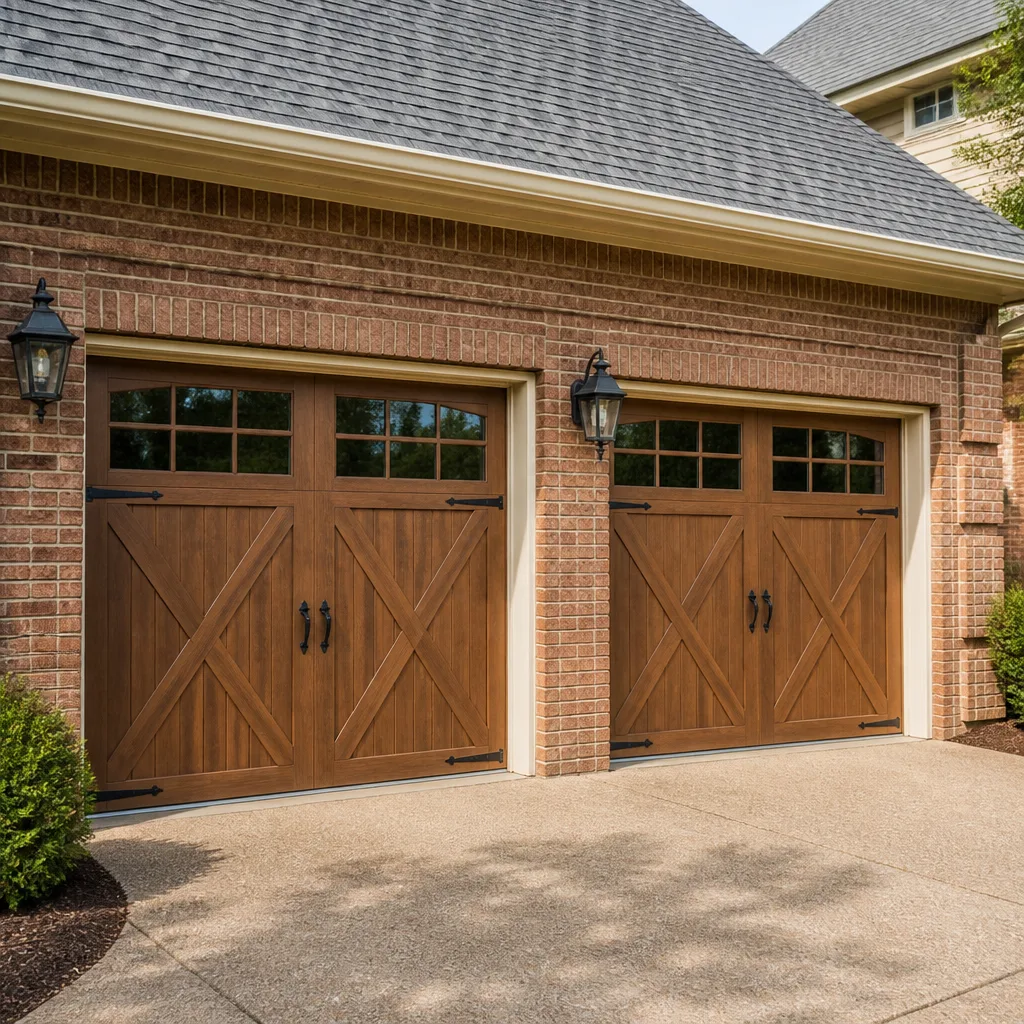 Carriage house
 Modern flush
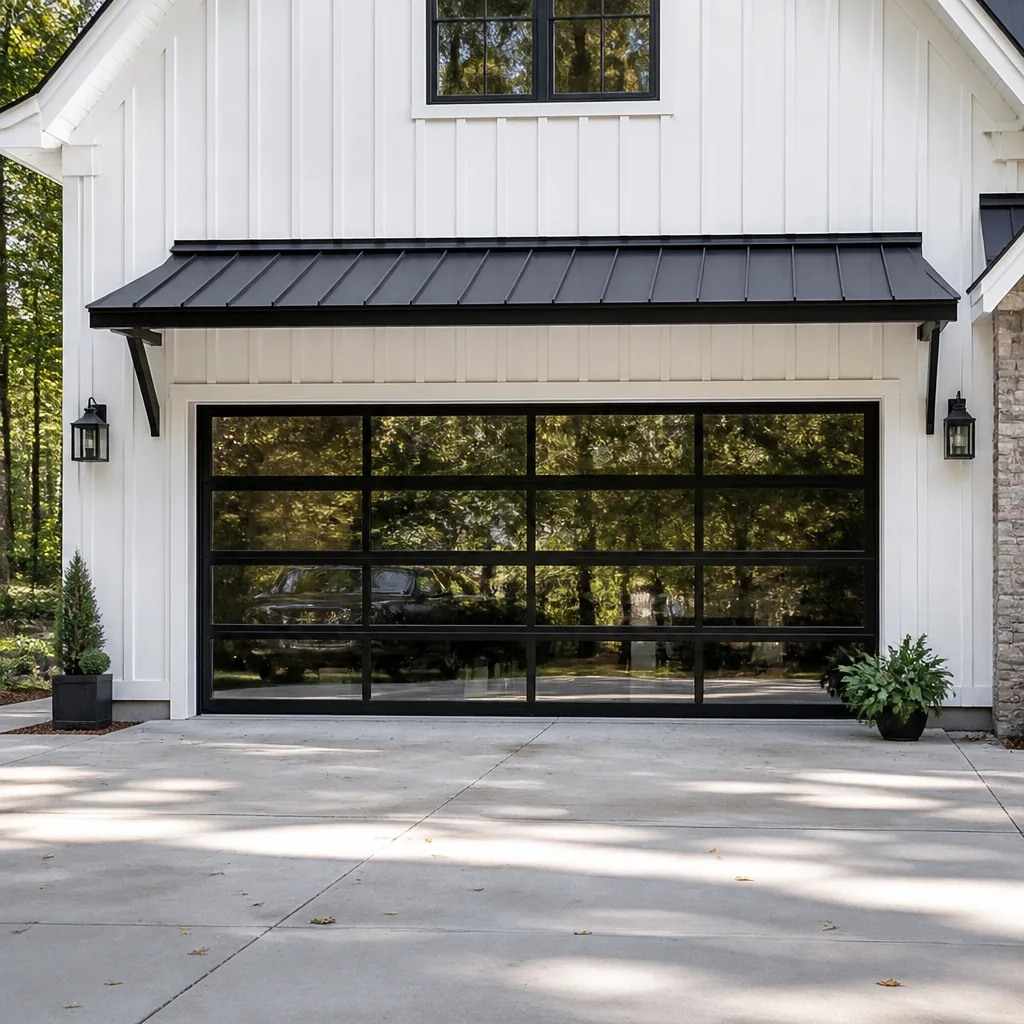 Full-view glass
 LiftMaster openers
 Chamberlain openers
Full 25-point door and opener safety check with every visit - springs, cables, rollers, tracks, and your LiftMaster or Chamberlain opener included
You get a price before we start. It does not change when the truck arrives.
Get your free estimateGarage Door Repair Troubleshooting: Common Problems and How to Fix Them
Here’s the truth most garage door guides won’t tell you: the symptom you’re seeing is rarely the component that’s actually failing. A door that reverses before touching the ground is almost never a sensor problem. It’s usually a spring that has lost tension, which forces the opener’s internal force limiter to trigger and reverse the door as a safety response. Cleaning the photo-eye sensors, the most common DIY fix attempted in driveways across Brushy Creek, does nothing because the sensor was never the issue. This guide explains what your door is actually telling you when it misbehaves, how to distinguish an opener problem from a mechanical door problem in about two minutes, and when the right move is calling our Garage Door Repair services to send a specialist who has seen the failure pattern before.
Quick Answer
Garage door troubleshooting starts with identifying which of three systems is failing: the door’s mechanical components (springs, cables, rollers, tracks), the opener’s electrical components (motor, logic board, sensors, wiring), or the connection between them (force limits, travel settings, chain or belt tension). The most common root causes we see in Brushy Creek are worn torsion springs, misaligned or obstructed safety sensors, and logic board failures on openers older than eight years. Run the three-step force-and-balance test below before spending money on parts or a service call.
Styles & brands we work with
Table of Contents
- Symptom-to-Root-Cause: What Your Door Is Actually Telling You
- What That Noise Means: Grinding, Squealing, and Popping
- The Three-Step Force-and-Balance Test
- Why Your Door Works Fine Then Randomly Won’t Close
- Opener Error Codes Explained in Plain Language
- When a ‘Repaired’ Door Fails Again Within 60 Days
- DIY Fixes That Are Safe and Fixes That Aren’t
- Common Mistakes to Avoid
- When to Call a Professional
- Frequently Asked Questions
Symptom-to-Root-Cause: What Your Door Is Actually Telling You
Garage doors fail in predictable ways. The trick is knowing that the behavior you observe is a lagging indicator. By the time a door reverses mid-travel or refuses to open past six inches, the underlying component failure started weeks or months earlier. Here’s the mapping of what specific behaviors actually indicate about component condition, based on patterns we see across Brushy Creek, from the older homes near Cat Hollow to newer construction in the Avery Ranch area.
| Symptom | What Most People Assume | What It Usually Actually Means |
|---|---|---|
| Door reverses before touching the ground | Sensor misalignment | Torsion spring has lost tension, triggering the opener’s force limit reversal |
| Door won’t open past 6 inches | Opener motor is weak | Broken spring or cable has thrown the door off balance; opener is protecting itself |
| Door shudders or shakes while moving | Track problem | Worn rollers with flat spots, loose hinge bolts, or a door out of alignment in the track |
| Door glides up but slams down | Cable issue | Torsion spring has lost too much tension to counterbalance the door’s weight |
| Opener runs but door doesn’t move | Motor failure | Broken chain/belt connection, disengaged emergency release, or stripped drive gear |
| Door opens a few inches then stops | Obstruction | Broken spring on one side causing uneven lift pressure on the opener |
| Remote works intermittently | Battery issue | Logic board degradation or interference from nearby LED bulbs |
The pattern matters more than any single observation. A door that shudders only when closing but opens smoothly points to roller wear on the bottom panel. A door that shudders in both directions points to track misalignment. A door that makes a single sharp pop and then refuses to open at all is almost always a broken torsion spring, not an opener problem. Understanding this mapping is the difference between replacing a $15 pair of rollers and replacing a $400 opener that was never the problem. For a complete breakdown of mechanical versus opener failures, the Garage Door Repair in Brushy Creek page covers full system diagnostics in more detail.
What That Noise Means: Grinding, Squealing, and Popping
Garage doors talk. The sound signature of a failing component is as diagnostic as the visual behavior. Here’s what each noise pattern indicates, because getting the right sound identified before a service call can save a second visit.
Grinding or metallic scraping
This is almost always the opener’s driven gear, especially on LiftMaster and Craftsman units that use a plastic worm gear inside the motor housing. When that gear strips, the motor spins but the chain or belt doesn’t move, producing a distinctive grind. If the grinding is accompanied by the door moving in jerks, check for a bent track section or a roller that has seized. A seized roller grinds against the track and should be replaced before it carves a groove into the rail.
Squealing or high-pitched whine
Squealing comes from metal-to-metal contact at the hinges, the torsion spring anchor bracket, or the roller bearings. It’s most common on doors that haven’t been lubricated in years, but persistent squealing after lubrication usually means a roller bearing has failed internally. We see this frequently on older Wayne Dalton doors in Brushy Creek where nylon rollers have been in service for a decade or more and the internal bearing has worn past tolerance.
A single loud pop or bang
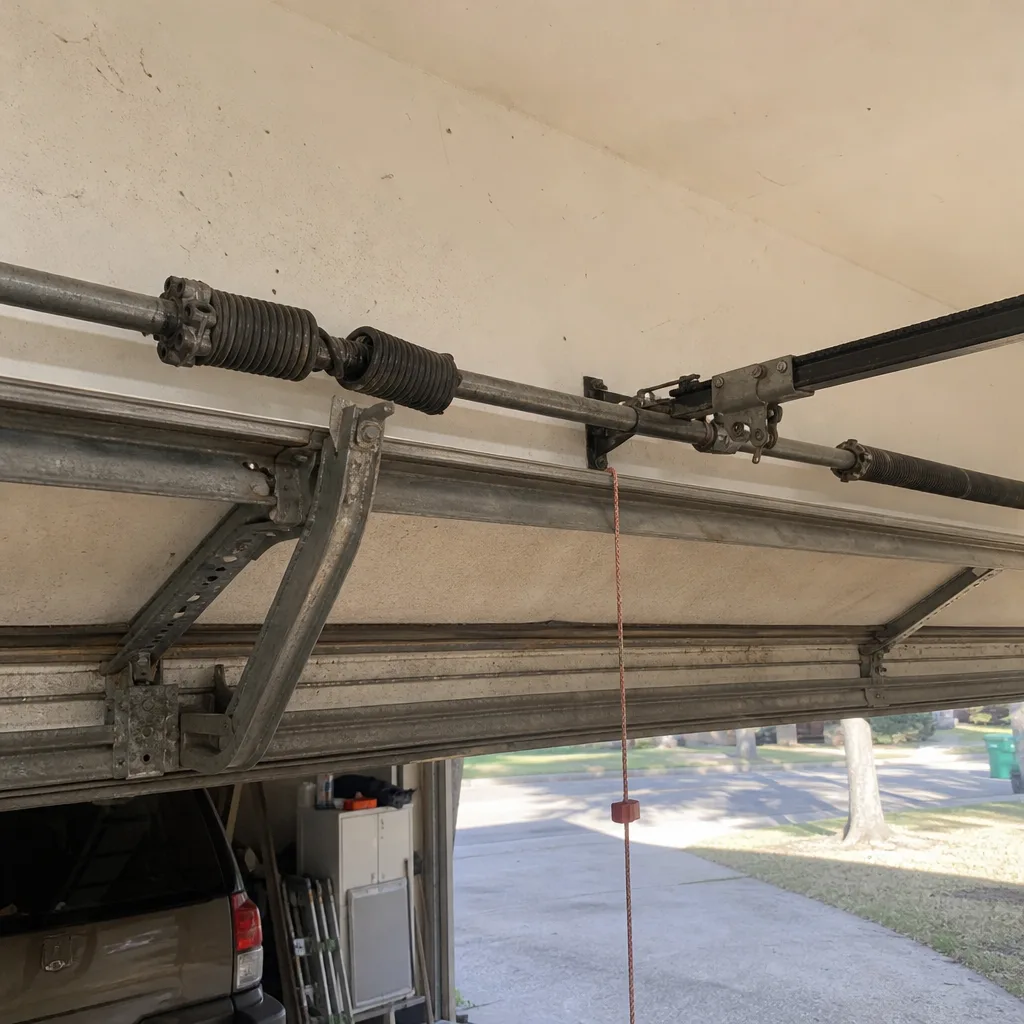
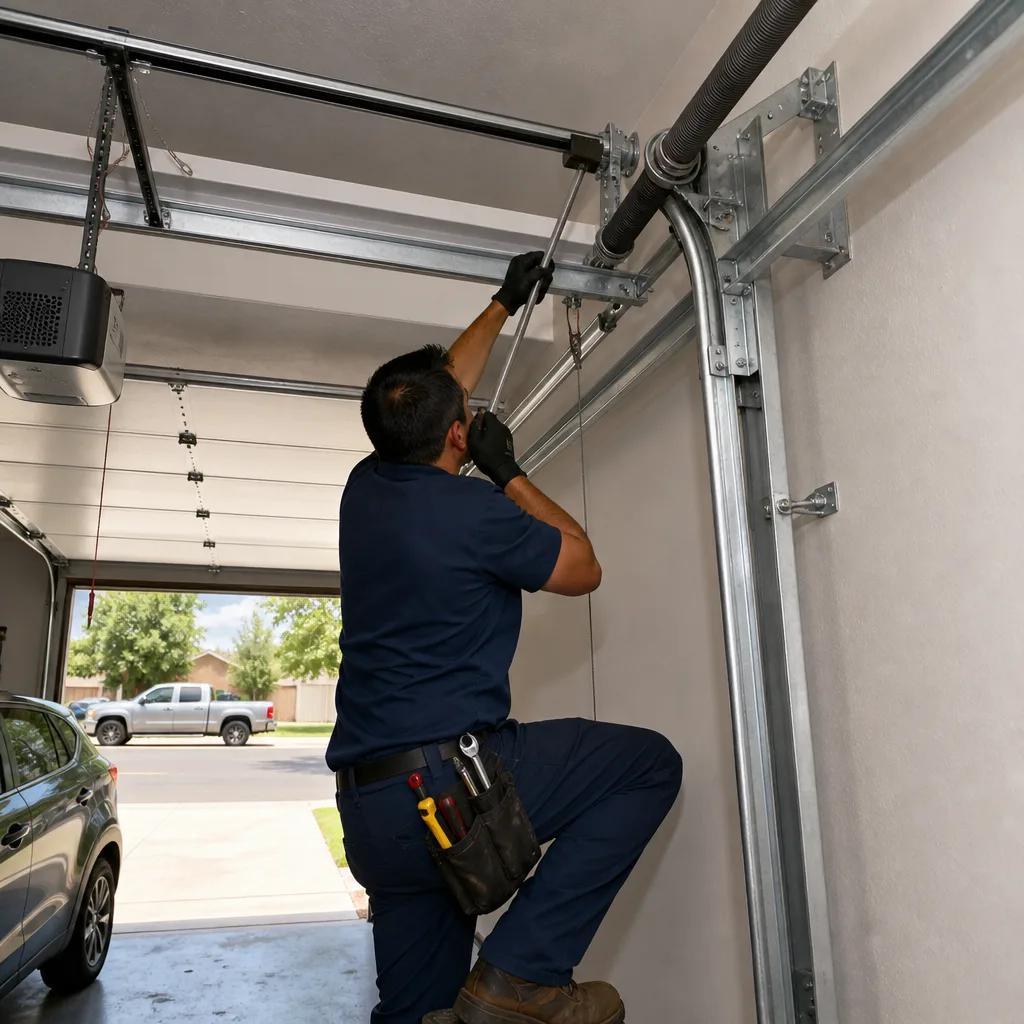
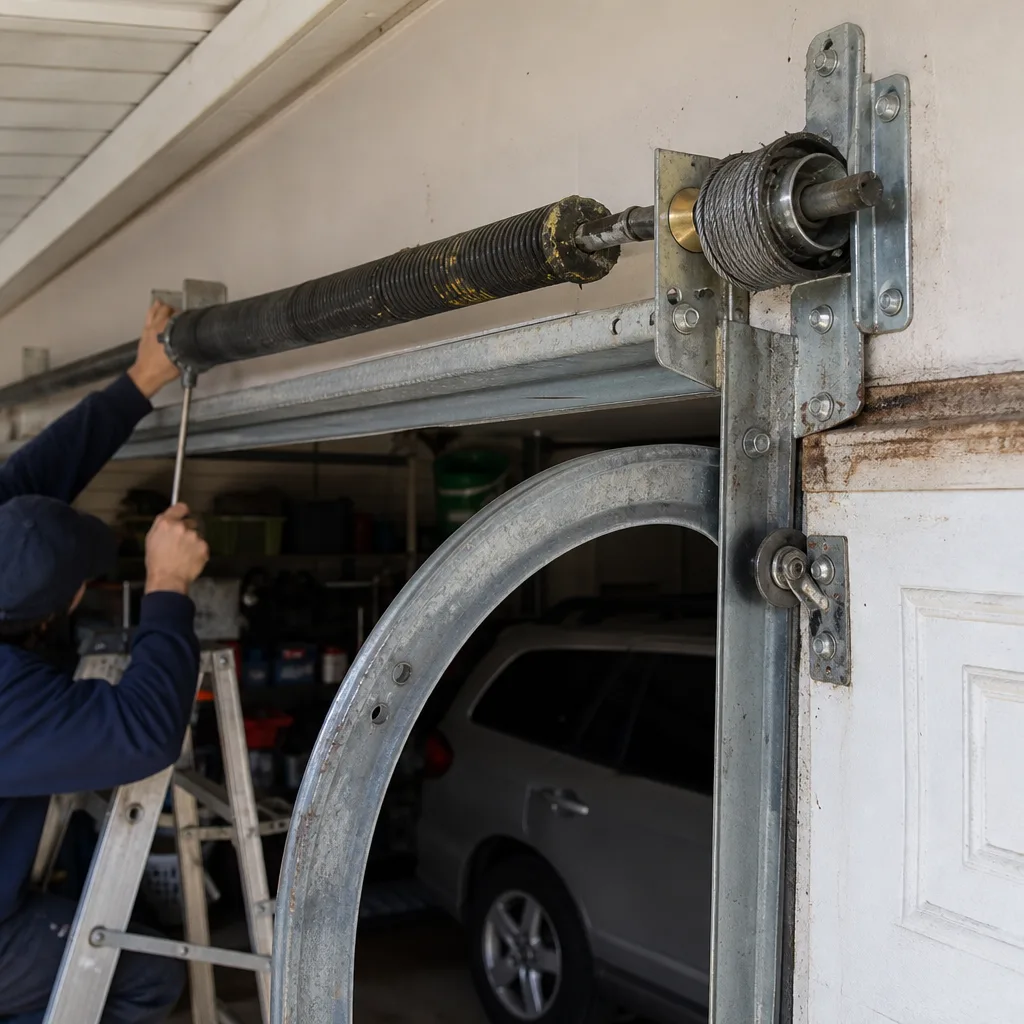
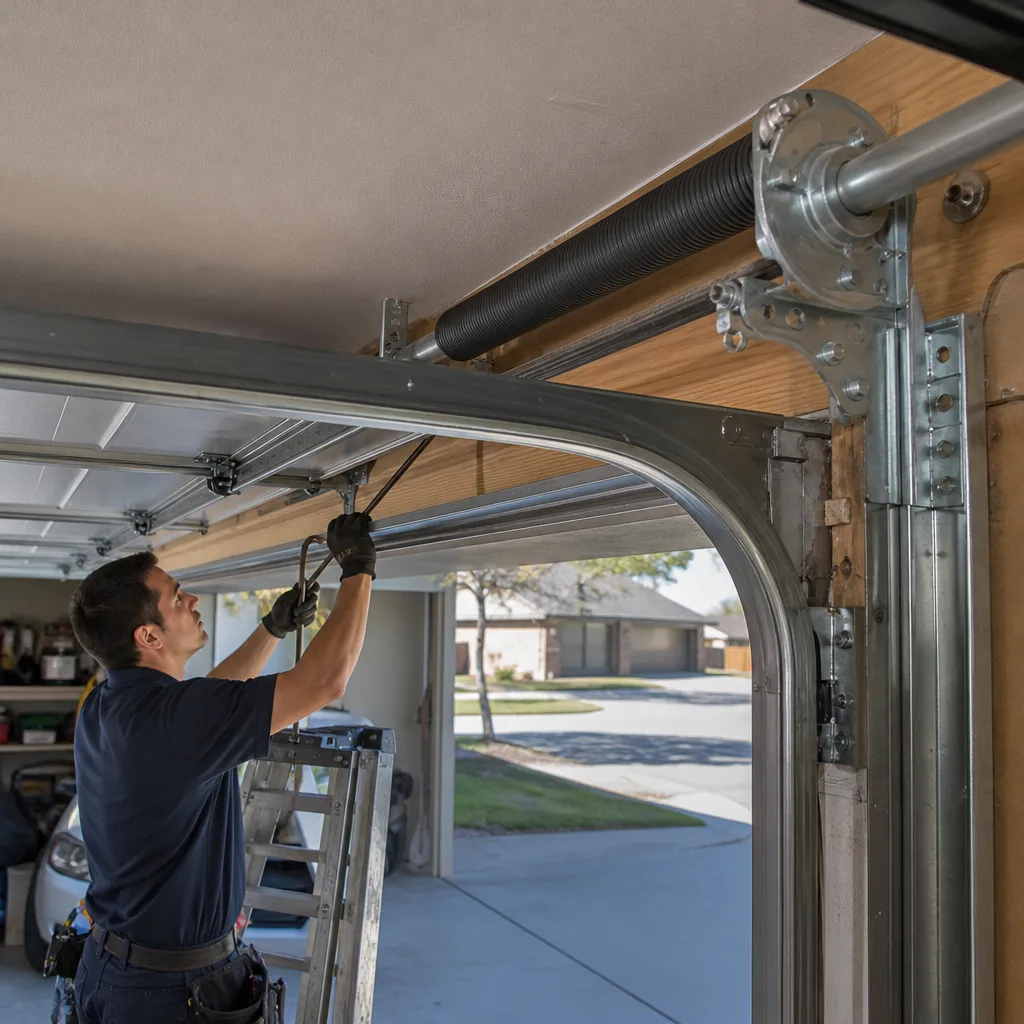
That sound is a torsion spring snapping. When a spring breaks, it releases stored torque instantly. The pop is loud enough to be heard inside the house and sometimes mistaken for a gunshot. If you hear that sound and the door won’t lift at all, or lifts only a few inches before stopping, a spring has failed. Do not attempt to open the door with the opener. Do not try to lift it manually. The remaining spring, if there is one, is now carrying double its designed load and may fail catastrophically when disturbed. This is the single most common repair call we get in Brushy Creek, and it’s the one repair where the safety stakes are highest. Torsion spring replacement requires specialized tools and training. A spring under tension stores enough energy to cause serious injury or death if mishandled.
Rattling or chattering
Rattling is usually loose hardware. Hinge bolts back out over time from ordinary use, particularly on doors that cycle multiple times a day. Walk the door, and you’ll usually find the source: a loose hinge plate, a track bolt vibrating against the mounting bracket, or a roller stem that has worn enough to rattle in its hinge tube. Snugging loose nuts is safe, and for anything beyond that, it’s often a quick fix for someone with the right torque specs and thread compound to keep it from recurring.
Raynor doors, which use a slightly different hinge geometry than most other brands, sometimes produce a chattering sound from the top roller stems when the top panel is slightly out of plane. It’s a brand-specific quirk that’s easy to misdiagnose if you don’t work on Raynor equipment regularly. That’s one reason Goldleaf Garage Door Repair trains technicians on the specific hardware patterns of eight major brands rather than approaching every door as if it were the same generic system.
The Three-Step Force-and-Balance Test
Before you call anyone, before you order any part, run this test. It takes two minutes and will tell you with reasonable confidence whether your problem is mechanical (the door itself) or electrical (the opener). Knowing that answer saves you from replacing the wrong component and helps a technician arrive prepared.
- Disconnect the opener. Pull the red emergency release handle while the door is closed. This disengages the opener carriage from the door. The door now moves fully manually. If you can’t find the red cord, it hangs from a rope attached to the opener rail, usually within reach when the door is closed.
- Lift the door manually to waist height. With the opener disconnected, grab the door’s bottom handle and lift it to about waist level. A properly balanced door should stay in place at waist height without you holding it. If it drifts up, the springs have too much tension. If it drops or feels heavy, the springs have lost tension or broken. If it won’t lift at all, a spring has definitely failed or a cable has jumped its drum.
- Reconnect and test the opener’s force reversal. Reconnect the opener by pulling the release handle toward the door until the carriage clicks back onto the drive. Then place a 2×4 flat on the ground under the door’s path and close the door. The door should reverse within two seconds of touching the wood. If it doesn’t, the opener’s force limit is set too high, which is a safety issue that needs attention.
If the door balances at waist height in step two but still misbehaves when connected to the opener, your problem is electrical or opener-related. If the door fails the balance test, no amount of opener adjustment, sensor cleaning, or remote reprogramming will fix it. You have a mechanical issue, and the opener is just responding to it. In Brushy Creek, where many homes are now 15 to 25 years old, we see torsion springs failing right around that age window. Original springs on Wayne Dalton and Clopay doors installed during the early 2000s build boom are reaching end of life together, which is why spring replacement calls cluster in certain neighborhoods. The Garage Door Opener Repair in Brushy Creek page covers the electrical side of diagnostics if your door passes this test.
Why Your Door Works Fine Then Randomly Won’t Close
This is the most frustrating pattern a homeowner faces. The door works perfectly for three days, then refuses to close on the fourth. It works again for a week, then fails twice in one afternoon. Intermittent failure almost always points to one of three culprits, and none of them are mechanical.
The logic board is failing
Older openers, particularly early-generation LiftMaster and Genie units now 10 to 15 years old, develop hairline fractures in solder joints on the logic board. As the board heats and cools with use and with Brushy Creek’s seasonal temperature swings, those fractures expand and contract, making electrical contact intermittent. When the board is cold, the connection works. When it warms, the joint separates and the opener won’t respond. This pattern explains the randomness better than any other cause.
LED bulb interference
LED bulbs installed in or near the opener can emit radio frequency interference that blocks the remote’s signal. This is a well-documented problem across all opener brands, and it’s getting more common as homeowners replace incandescent bulbs with LEDs. The remote works sometimes, not others, often depending on where you’re standing or how recently the bulb has been on. Switching to a garage-door-specific LED bulb, or moving the bulb farther from the opener’s antenna, often resolves this immediately.
Wall button wiring degradation
The low-voltage wire that runs from the opener to the wall button inside the garage passes through the wall and along the ceiling. Over time, that wire can develop a partial break from vibration, pest damage, or a staple that was driven too tight during installation. The intermittent contact produces exactly the symptom you’re describing: the door works when the wire happens to make contact, and doesn’t when it doesn’t. Jiggling the wall button or the wire where it connects to the opener sometimes produces temporary function, which tells you the wire is the problem.
What to tell a technician to speed up diagnosis: write down exactly when the failure occurs, whether the door fails from the remote, the wall button, or both, and whether the failure correlates with temperature or time of day. If the wall button works consistently while the remote fails, it’s an RF issue or a logic board problem. If both fail simultaneously, it’s wiring or board-level. That detail can save a technician an hour of diagnosis.
Opener Error Codes Explained in Plain Language
Your opener is trying to tell you what’s wrong. Most homeowners never check the blinking light pattern on the opener because the owner’s manual explanations are cryptic. Here are the specific codes for the four most common opener brands and what they actually mean in plain language.
LiftMaster and Chamberlain (same parent company, same codes)
- 1 blink: Safety sensor wire is open or disconnected. This means the wire running from the opener to one of the photo-eye sensors at the bottom of the door track has a fault. It might be a loose connection at the opener terminal, a wire chewed through by rodents, or a sensor that has failed internally.
- 2 blinks: Safety sensor is blocked or misaligned. The photo-eye sensors can’t see each other. Clean the lens with a soft cloth and check that the small LED on each sensor is lit solid. If one is flickering, that sensor is misaligned or its bracket has been bumped.
- 4 blinks: Door obstruction detected. The opener encountered resistance it didn’t expect. This could be a real obstruction, or it could be a door that’s binding in its track and registering false resistance. Check the door’s balance before assuming a real obstruction exists.
- 5 blinks: Motor overheat. The opener has run too many cycles in too short a period. Let it cool for 15 minutes. If the code recurs on light use, the motor is drawing more current than it should, which often means a door component is binding.
Genie
- One blink, pause, repeated: Sensor obstruction or misalignment. Same fix as LiftMaster: clean the lenses, check the alignment, make sure both sensor LEDs are solid.
- Two blinks: Force setting error. The door is encountering more resistance than the opener expects, usually because a spring has weakened or a roller has failed. This is a mechanical problem presenting as an opener code.
- Three blinks: Limit switch error. The opener doesn’t know where the door is. This requires reprogramming the travel limits, which is a straightforward but specific procedure that varies by Genie model.
Wayne Dalton
Wayne Dalton openers, particularly the iDrive models installed in many early-2000s Brushy Creek homes, use a different signaling system. The iDrive opener has a small LED screen on the motor housing that displays numeric codes rather than blinking lights. Codes in the 20s indicate motor or gearbox issues. Codes in the 30s indicate limit switch problems. Codes in the 40s indicate sensor circuit faults. The iDrive system is discontinued, so if you have one of these units and it’s failing, replacement parts are increasingly hard to come by. An opener replacement with a current LiftMaster or Genie unit is often more cost-effective than chasing discontinued parts.
If your opener shows a code you can’t identify, note the blink pattern or numeric code before calling. That single piece of information can let a technician arrive with the right part on the truck instead of making two trips. That’s the difference between a company that reconfirms the problem and one that has the diagnostic data to show up ready to fix it.
When a ‘Repaired’ Door Fails Again Within 60 Days
If a door was repaired and then fails again within 60 days with similar symptoms, the most likely explanation is not that a new problem developed. It’s that the first repair addressed a symptom, not the root cause. Here’s how to figure out which component was actually the original culprit.
Imagine a door that was diagnosed with a bad roller and had that roller replaced. The door works better for two weeks, then starts making the same noise and shuddering again. The roller was never the root problem. The track was slightly misaligned, which caused uneven wear on that roller position. Replacing the roller bought time but didn’t fix the alignment, so the new roller is now wearing the same way. The original culprit was the track alignment, not the roller.
The same pattern applies to spring replacements. A door that gets a new spring and then reverses mid-travel again within a month usually has an opener force limit that was set wrong from the start, or a second spring on a two-spring system that should have been replaced at the same time and wasn’t. A door that gets new rollers and then jams again probably had a cable that was spooling slightly unevenly, putting tension on one side. That cable is now slipping on its drum under the strain.
The takeaway: when a repair doesn’t hold, the diagnosis was incomplete. A competent technician should be able to explain not just what part they replaced, but why that part failed, and what else in the system contributed. If the explanation is just ‘that part was worn out’ with no reference to what wore it out, the root cause hasn’t been found. For homeowners in Brushy Creek who’ve had a second failure on the same door, a fresh look at the complete system, rather than another isolated part swap, is usually what actually resolves it. The Goldleaf Garage Door Repair home page explains our full-system diagnostic approach.
DIY Fixes That Are Safe and Fixes That Aren’t
Garage door repair spans a wide range of difficulty and danger. Some tasks are genuinely DIY-appropriate. Others are not safe to attempt without training and specialized tools. If you’re evaluating who to trust with the latter, see How to Hire a Garage Door Contractor in Brushy Creek: A Step-by-Step Guide. Here’s the honest breakdown.
Safe for most homeowners
- Lubricating rollers, hinges, and springs. Use a silicone-based garage door lubricant, not WD-40. Apply it to the roller bearings, hinge pivot points, and the torsion spring coils. Do this twice a year in the spring and fall, which suits Brushy Creek’s relatively mild climate but still matters given our dry summers and occasional freezing snaps in winter.
- Cleaning and aligning sensor lenses. Wipe the photo-eye lenses with a dry soft cloth. If one sensor’s LED is blinking, loosen the wing nut on its bracket and gently adjust until both LEDs are solid. This is a two-minute fix that works when the sensor actually is the problem.
- Tightening visible loose nuts and bolts. Walk the door with a socket set and snug anything that’s wiggling. Hinge bolts, track brackets, and opener mounting bolts all loosen over time. Snug them, but don’t over-tighten or you’ll strip the threads in the door’s steel frame.
- Testing and reprogramming remotes. Change the battery, re-pair the remote to the opener, and check if an LED bulb is interfering with the signal. All safe and straightforward.
Not safe for homeowners
- Torsion spring replacement. The spring is under hundreds of pounds of torque even when the door is closed. The winding and unwinding procedure uses steel bars inserted into the spring’s winding cone, and if one slips, the bar becomes a projectile. This is the single most dangerous repair in residential contracting. Do not attempt it. Do not watch a video and think you can do it safely. The videos don’t show the injuries.
- Cable replacement. The lift cables run through the same spring system. If you disconnect a cable while the spring is still tensioned, the spring will spin the drum with enough force to break fingers or hands. Cable replacement requires releasing spring tension first, which is the same dangerous procedure as spring replacement.
- Track removal or bending repair. Tracks are under load from the door’s weight when the door is closed. Removing or loosening track bolts while the door is under tension can cause the door to fall. Track work should be done with the door secured in the open position with locking pliers on the track, and even then only by someone who knows exactly where the load path runs.
- Opener motor replacement. The opener’s motor and logic board involve line voltage wiring. A mistake here creates a fire hazard, not just a broken door. If the opener is failing, replacement is the right call, and it’s a job for a licensed professional.
Here’s the principle: anything that involves releasing, adding, or managing stored mechanical energy from springs, or anything involving line voltage, is a professional job. Everything else is fair game if you’re reasonably handy. The risk of getting it wrong on a spring isn’t a damaged door. It’s a trip to the emergency room.
Common Mistakes to Avoid
- Cleaning the sensors without checking the balance first. The most common DIY response to a reversing door is sensor cleaning. If the door reverses because of a spring issue, the sensors were never involved. Run the force-and-balance test before touching anything else. This mistake is so common in Brushy Creek that we regularly get calls from homeowners who’ve cleaned sensors three times and are still stuck.
- Replacing the opener when the door is the problem. A door that’s out of balance will eventually burn out any opener connected to it. If you put a new opener on a door with failing springs, you’ve spent hundreds of dollars and haven’t fixed the root issue. The new opener will fail early too.
- Lubricating the track. The track should be clean and dry. Lubricant on the track collects dust and becomes grinding paste. Lubricate the rollers, hinges, and spring coils only.
- Adjusting the spring tension without a tension gauge. Torsion springs need to be wound to a specific number of quarter-turns based on the door’s weight and height. Eyeballing it results in a door that’s either too hot (drifts up) or too heavy (strains the opener).
- Ignoring thermal expansion. Brushy Creek’s winter temperature swings, while milder than points north, still cause metal door panels and tracks to flex. A door that rubs in the winter but works fine in the summer may just need seasonal track adjustment rather than parts.
- Buying universal parts without checking brand compatibility. Rollers, hinges, and cables are not truly universal. Wayne Dalton doors use a different hinge profile than Clopay. A part that fits one brand may bind or fail quickly on another. Match the part to the door’s manufacturer.
- Disconnecting the emergency release while the door is open. Pulling the red release handle with the door in the raised position will cause the door to slam down if the springs are weak or broken. Always disconnect with the door closed.
When to Call a Professional
Call a professional when the problem involves springs or cables, when the door fails the balance test, when an opener shows persistent error codes that recur after resetting, or when you’ve tried the safe DIY fixes and the problem hasn’t resolved. The line is simple: if you’re not sure why the door is misbehaving after reading this guide, the diagnosis itself is worth paying for. A wrong guess on a garage door is more expensive than a service call. Goldleaf Garage Door Repair offers free estimates in Brushy Creek. Call (855) 412-0407 and describe what you’re seeing, what sounds the door is making, and what error code the opener shows if any. That information gets you a faster fix on the first visit. For new door needs, see our Garage Door Installation in Brushy Creek page.
Frequently Asked Questions
A garage door that reverses before touching the ground is usually responding to the opener’s force limit setting, which detects more resistance than it expects and reverses as a safety response. The most common cause is a torsion spring that has lost tension, making the door feel heavier to the opener. Clean the sensors first if you want, but if the problem persists, check the door’s balance by disconnecting the opener and lifting the door manually. If it feels heavy, the spring is the culprit. Call (855) 412-0407 for a free estimate on spring replacement in Brushy Creek.
Diagnostic service calls in Brushy Creek typically range from $75 to $150 depending on the company and whether the diagnosis is applied toward the repair. Goldleaf Garage Door Repair offers free estimates, so you’re not paying for someone to tell you what’s wrong. The repair itself varies widely by component, from under $150 for a roller replacement to several hundred dollars for a torsion spring replacement.
No. Torsion springs are under hundreds of pounds of torque even when the door is closed, and the winding procedure requires specialized bars and training. A slip during winding can turn the bar into a projectile. This is the one repair where the risk of injury is severe enough that no honest professional will recommend attempting it. Hire a trained technician.
Four blinks on a LiftMaster or Chamberlain opener indicates the door encountered an obstruction or unexpected resistance during travel. Check for objects in the door’s path, but also check the door’s balance manually. A door that’s binding in its track or has degraded springs will trip this code even with no visible obstruction.
Intermittent operation almost always points to an electrical or logic board issue rather than a mechanical one. Common causes include failing solder joints on an older opener’s logic board, radio frequency interference from an LED bulb near the opener, or a partially broken wire running to the wall button. Note whether the door fails from both the remote and the wall button or just one, and whether the failure correlates with temperature.
Torsion springs are rated for a specific number of cycles, typically 10,000 for standard springs or 20,000+ for high-cycle springs. A 10,000-cycle spring on a door used four times a day lasts about seven years. In Brushy Creek, where many homes are now 15 to 25 years old, original springs are failing together across entire neighborhoods. If your spring is original to the house and the house is over 15 years old, it’s approaching or past its rated life.
The Bottom Line
Garage door symptoms mislead. The door reverses, so you clean the sensors. The door shudders, so you assume it’s the track. The door won’t close, so you buy a new opener. None of these cause-and-effect assumptions survive contact with how garage doors actually fail. The symptom you see is the last thing to appear, not the first thing to break. Run the force-and-balance test, listen to the noise the door makes, check the opener’s error code, and write down exactly when the failure happens. That information turns a frustrating guessing game into a specific diagnostic that gets fixed right the first time. And when the problem is a spring, a cable, or a logic board, the right call is a specialist who sees these patterns every day. Goldleaf Garage Door Repair offers free estimates in Brushy Creek. Call (855) 412-0407 and tell us what your door is doing. We’ll tell you what it means.
Written by the team at Goldleaf Garage Door Repair, serving Brushy Creek since 2012. For more guides & resources, visit our blog.
See the difference
 Before
 After
 Before
 After
 Before
 After